Payment links are one of the easiest ways for freelancers and solopreneurs to collect payments from clients while keeping bookings fully organised. With Fluum, you can generate a secure Stripe checkout link in just one click and ensure every booking is paid upfront or as agreed.
Why Freelancers Use Payment Links
Here are the most common scenarios where freelancers rely on payment links:
- Upfront payments to reduce no-shows – Secure the booking with payment before the session takes place.
- Ad-hoc sessions – Perfect for one-off or trial consultations outside of standard packages.
- Custom pricing or discounts – Manually adjust the price (e.g. promo offers, special rates) and send a tailored link.
- Last-minute bookings – Quickly request payment when clients book at short notice.
- Covering Stripe fees – Pass on Stripe transaction fees to clients so your net income stays intact.
- Group sessions or workshops – Collect payments individually when clients don’t buy a package.
- Client retention – Make it easy for repeat clients to book and pay instantly without going through a long checkout flow.
- International clients – Stripe checkout supports multiple currencies, helping you work with clients abroad without hassle.
- Trial to long-term upgrade – Use payment links to offer first-time discounted sessions and then upsell to a package.
- One-off digital products or add-ons – Charge for extras like templates, resources, or materials alongside a session.
What Is a Payment Link?
A payment link is a secure checkout page generated by Fluum and powered by Stripe. When enabled, your client will receive an email titled:
“[ACTION REQUIRED] Payment requested”
Inside, they’ll find a button that takes them straight to Stripe Checkout. Once payment is complete, your client enters the standard booking flow:
- Forms (if enabled)
- Confirmation emails
- Automated reminders before the session
This ensures everything runs smoothly on both sides.
How to Create a Payment Link
- Create a new appointment
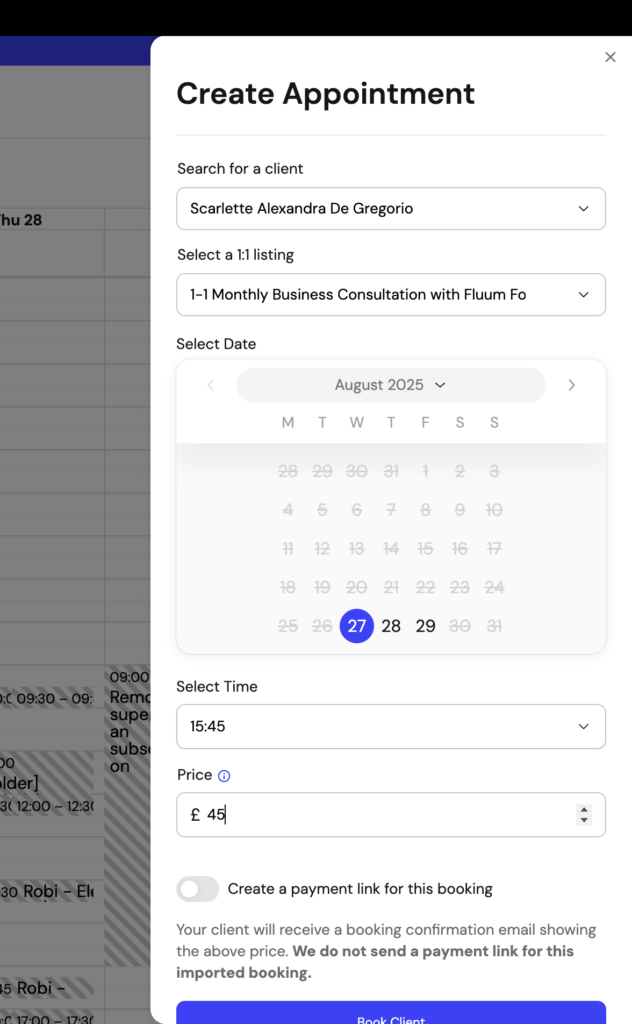
- Add an Appointment in the Calendar
- Select the relevant 1:1 listing.
- Pick the client from the Client List,date, time, and price.
- Enable the payment link
- Toggle “Create a payment link for this booking”.
- If the listing is set to pass Stripe fees to clients, this will be auto-ticked.
- Send the booking
- Your client will immediately receive a booking confirmation with the payment request.
Important Rules to Remember
- No double charging with packages: If a client has an active package that covers the session, you cannot create a payment link.
- Email required: If a client was manually added without an email address, a payment link cannot be generated.
- Counts toward capacity: Even unpaid bookings reserve a spot in the listing’s maximum capacity to avoid overbooking.
Why Payment Links Matter
For freelancers, payment links are more than just a checkout option. They’re a tool to:
- Guarantee cash flow
- Reduce cancellations and unpaid no-shows
- Keep all payments centralised in one platform
- Offer clients a simple and professional payment experience
Leave a Reply